Introduction
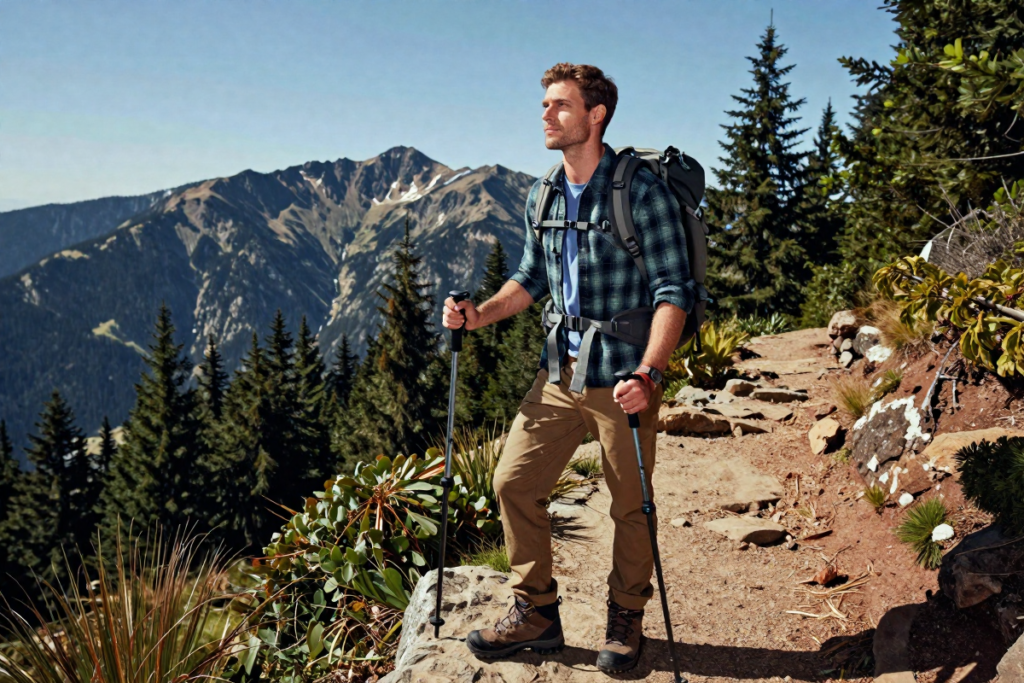
There’s nothing quite like the freedom of stepping onto a trail—the open sky, the crisp air, the promise of adventure stretching out before you. For many beginners, hiking represents a gateway to the great outdoors, a chance to disconnect from screens and reconnect with nature. But here’s the reality: that same freedom can turn sideways quickly without proper preparation.
Every year, thousands of inexperienced hikers find themselves in preventable emergencies: lost on unmarked trails, dangerously dehydrated, underdressed for sudden weather shifts, or separated from group members. The good news? These incidents are largely avoidable. With the right knowledge, gear, and mindset, hiking is one of the safest and most rewarding outdoor activities you can pursue.
This ultimate guide breaks down hiking safety tips for beginners into five practical phases—from pre-hike planning through emergency response—so you can explore confidently, responsibly, and joyfully. Whether you’re planning a weekend day hike, a solo adventure, or a family outing, this guide equips you with actionable strategies that don’t require specialized training or thousands of dollars in gear.
Quick Answer Box (AIO Optimization)
Q: What is the number one rule of hiking safety?
A: Tell someone exactly where you are going, which trailhead you’re using, and when you expect to be back. This single step—communication—has saved countless lives.
Phase 1: Pre-Hike Planning & Trail Selection
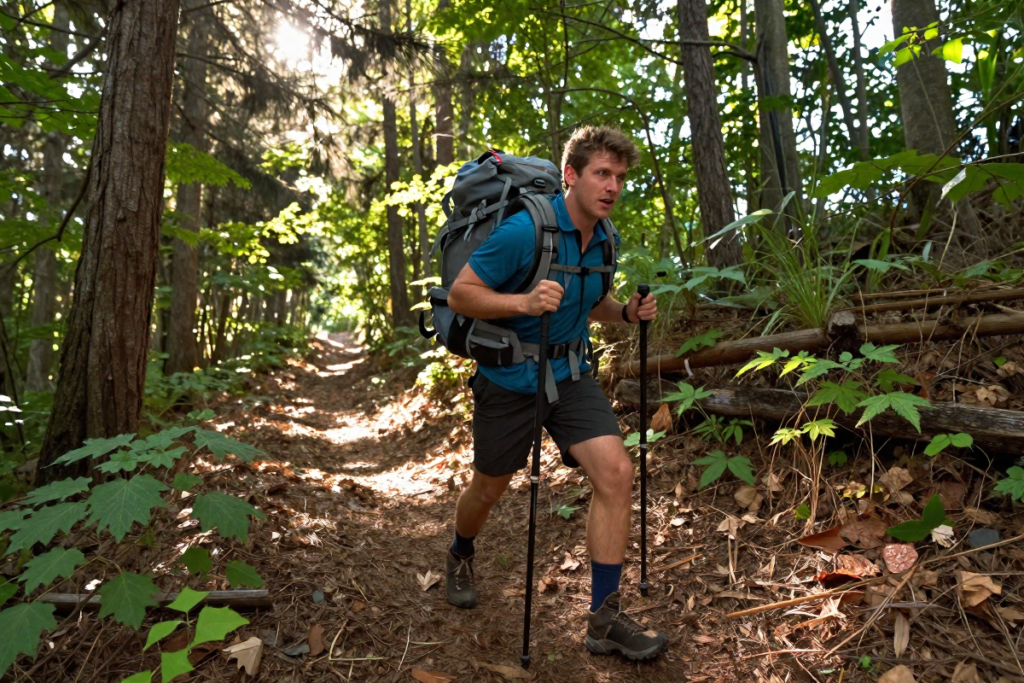
Before your boots hit the dirt, the foundation of a safe hike is already being built in your living room. Pre-hike planning is not bureaucratic busywork—it’s the difference between a confident adventure and a stressful ordeal.
Choose the Right Trail: Understanding Difficulty Ratings
Not all trails are created equal. Hiking trail difficulty ratings exist for a reason, and beginners must respect them.
Most official trail systems use a simple scale:
- Easy: Well-maintained, minimal elevation gain, clear markings
- Moderate: Some elevation, exposed sections, occasional rock scrambles
- Difficult: Steep climbs, exposed ridges, navigation challenges
- Expert: Technical rock scrambling, high altitude, serious consequences for mistakes
Critical tip: Don’t rely solely on user-generated apps like AllTrails or Hiking Project. These reviews vary wildly based on who wrote them—what’s “easy” for a fit 25-year-old may be “hard” for a beginner. Always cross-reference with official state park websites, USGS trail guides, or National Park Service resources. These sources provide objective difficulty ratings and current trail conditions.
Before booking a hike, ask yourself:
- Am I physically prepared for this elevation gain?
- Is the trail well-marked, or will I need navigation skills?
- What’s the round-trip mileage? (Beginners should start with 4–6 miles maximum.)
Check the Weather Forecast: Spotting Severe Shifts Early
Weather is the single most unpredictable variable in hiking, and it’s also one you can partially control through preparation.
Three days before your hike: Check the extended forecast. Look beyond just temperature and precipitation probability—examine wind speed, humidity, and any severe weather watches.
The night before: Review the updated forecast. Weather can shift dramatically in 24 hours.
The morning of: Check conditions one final time and pack accordingly. If you see severe thunderstorm watches, flash flood warnings, or extreme heat alerts, consider rescheduling.
Special note on rainy season hiking safety tips: Rain itself isn’t dangerous, but it creates hidden hazards. Wet rocks become skating rinks. Muddy trails erode underfoot. Stream crossings swell rapidly. If rain is forecast, ask yourself: Is this essential hiking gear and route flexibility sufficient to keep me safe? If not, postpone.
The Golden Rule of Communication: Tell Someone Your Hiking Plan
This cannot be overstated: You must tell someone exactly where you’re going.
Not “I’m going hiking somewhere in the mountains.” Not a vague text to your partner. You need specifics:
- Trail name (and which parking area/trailhead if multiple exist)
- Expected start time
- Expected return time (add 30 minutes for buffer)
- Number of people and names (if applicable)
- Vehicle description and license plate (if your contact needs to alert search and rescue)
- Weather conditions you anticipate
Action Step: Draft a template text message right now and save it to your phone’s Notes app. Before you lose cell service, send this to a trusted emergency contact:
“Hey [Name], I’m hiking [Trail Name] at [Trailhead] starting at [Time]. I expect to be back by [Time + 30 min]. [Number] of us going: [Names]. Driving [Vehicle color/make]. Expect [weather]. Call [SAR] if you don’t hear from me by [Time + 1 hour].”
Phase 2: Essential Hiking Safety Gear—The 10 Essentials List
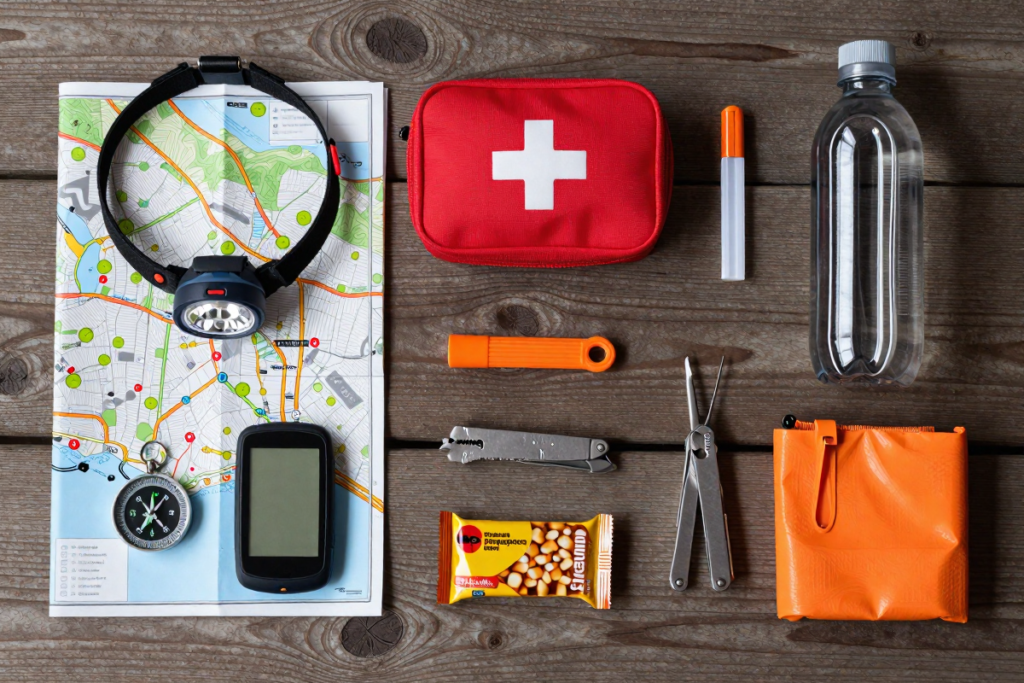
The American Alpine Club and various outdoor organizations have refined the “10 Essentials” over decades. These aren’t luxuries—they’re the backbone of wilderness safety.
The 10 Essentials for Beginners
- Navigation – Map, compass, and/or GPS device
- Sun protection – Sunscreen (SPF 30+) and hat
- Insulation – Extra layer (fleece or puffy jacket, even if weather looks mild)
- Illumination – Headlamp with extra batteries
- First-aid supplies – Blister treatment, bandages, pain relievers
- Fire – Lighter or waterproof matches
- Repair kit & tools – Multi-tool or knife, duct tape, paracord
- Nutrition – Extra snacks beyond what you plan to eat
- Hydration – Water bottle or hydration system (capacity depends on trail length)
- Emergency shelter – Space blanket or emergency bivy
Sub-Section: Footwear and Navigation
Do Hiking Boots Prevent Injuries?
Yes—but only if you choose the right ones.
Hiking boots serve two critical functions: ankle support and traction. On uneven mountain trails, a twisted ankle is the most common hiking injury. Proper footwear doesn’t eliminate this risk, but it significantly reduces it by:
- Providing lateral ankle support on rocky, uneven terrain
- Offering aggressive tread patterns that grip wet or muddy surfaces
- Protecting your feet from sharp rocks, roots, and debris
What to look for: Boots should fit snugly (not tight) with room for a thin hiking sock and one finger behind your heel. Break them in on shorter hikes before attempting longer treks.
Budget-friendly recommendation: [AFFILIATE PLACEHOLDER: Merrell Moab 3 hiking boots] — The Moab line has been a beginner favorite for over a decade. Excellent ankle support, proven durability, and typically $100–130.
Is a Hiking GPS Better Than a Phone for Trail Safety?
This depends on your location and habits, but the honest answer is: both have strengths.
Your phone: Works well on maintained trails with decent cell coverage. Use offline map apps (like AllTrails+ or Gaia GPS) to download maps before you leave.
Dedicated GPS or satellite messenger: Essential if you hike in remote areas, poor coverage zones, or backcountry. These devices send distress signals even when cell networks are dead.
For beginners sticking to well-marked trails within 1–2 hours of civilization, a smartphone with offline maps and a downloaded trail guide is sufficient. As you progress into remote hiking, a satellite communicator becomes invaluable.
Sub-Section: Emergency Communication & Tech
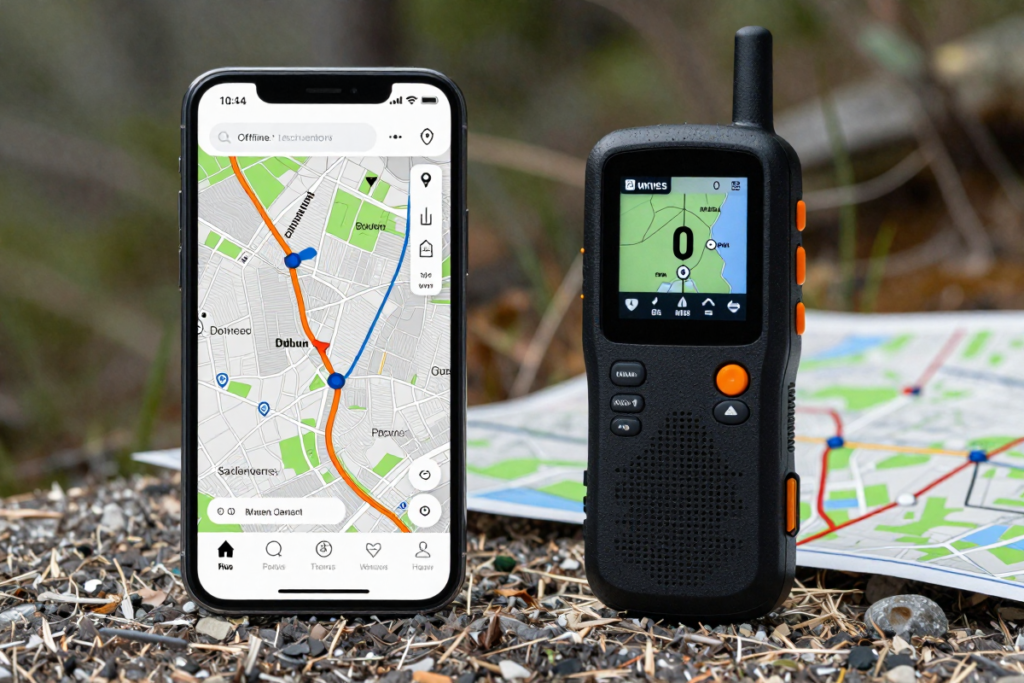
Satellite Messengers for Backcountry Safety
Satellite messengers are small, battery-powered devices that transmit your location and text messages via satellite—not cell towers. If you get injured or lost, you can call for help even in areas with zero cell coverage.
Why this matters: Search and rescue teams can locate you faster with a known GPS coordinate than by searching thousands of acres. A two-way satellite communicator also lets rescuers maintain contact with you while they respond.
Premium option: [AFFILIATE PLACEHOLDER: Garmin inReach Mini 3 Plus] — Industry-leading two-way satellite communicator with touchscreen, GPS tracking, and integration with mapping apps. Subscription: ~$15–25/month. Best for serious backcountry hikers.
Budget option: [AFFILIATE PLACEHOLDER: ZOLEO Satellite Communicator] — Affordable two-way messaging via satellite, works with your smartphone via Bluetooth. Subscription: ~$25/month. Great entry point for solo and remote hiking.
Sub-Section: First Aid, Water, and Shelter
What Should Be in a Hiking First Aid Kit?
A hiking first aid kit is not a full medical clinic—it’s a compact tool for treating minor injuries and stabilizing until help arrives.
Essentials:
- Blister treatment (moleskin or specialized blister pads)
- Antibiotic ointment and alcohol wipes
- Adhesive bandages (multiple sizes)
- Elastic bandage for ankle sprains
- Pain relievers (ibuprofen)
- Tweezers (for splinter removal)
- Antihistamine (for allergic reactions or bites)
- Space blanket (for emergency warmth)
Pro tip: Pre-assemble a kit in a small Ziploc bag rather than buying a premade kit. You’ll have exactly what you need and save weight.
Hydration: How Much Water Should You Bring?
Rule of thumb: 1/2 liter (16 oz) per hour of moderate hiking in moderate weather.
For a 4-hour hike on a cool day, plan for 2 liters. On a hot day, increase to 3 liters. Lightweight, rechargeable hydration systems (like hydration bladders) are preferable to heavy bottles for longer hikes.
If you’re hiking in remote areas without reliable water sources, bring additional capacity or a water filtration system.
Lightweight water filtration backup: [AFFILIATE PLACEHOLDER: LifeStraw Personal Water Filter] — Weighs just a few ounces, fits in a backpack, and lets you drink directly from streams or lakes while filtering out bacteria and parasites. A true safety essential for backcountry hiking.
Phase 3: On-the-Trail Safety & Etiquette
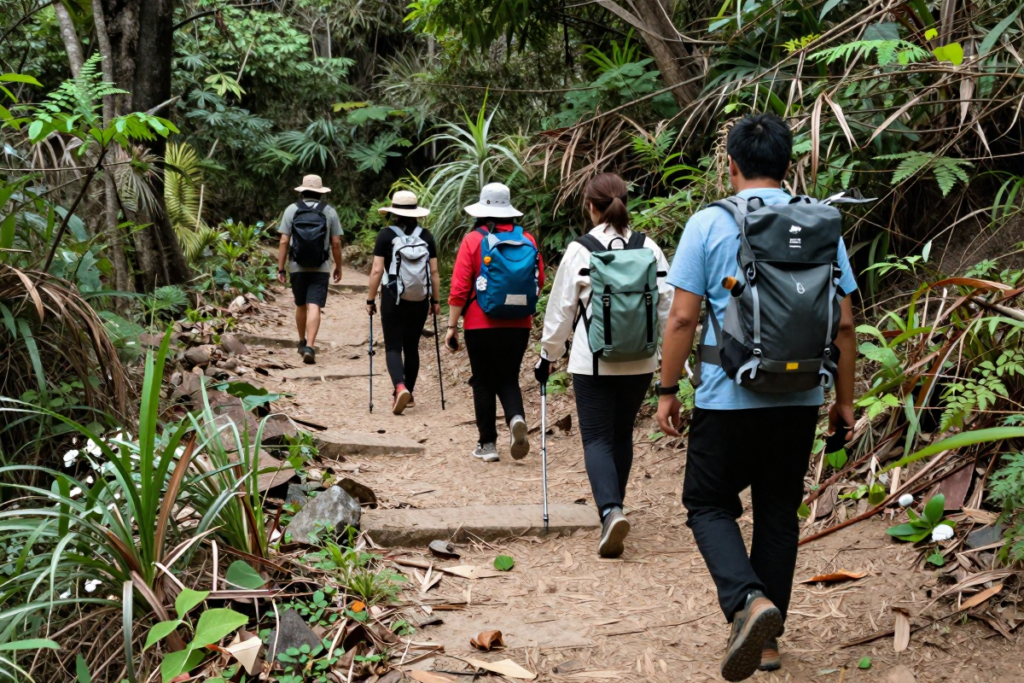
You’ve planned, you’ve packed, and you’re on the trail. Now comes the execution—and this is where many beginners make avoidable mistakes.
Staying on the Marked Path
It seems obvious, but never cut switchbacks or leave marked trails. Here’s why:
- Erosion: Shortcutting causes severe trail damage, widening erosion scars that degrade the landscape for everyone.
- Navigation: Off-trail hiking is how people get lost. Even experienced hikers struggle with pathfinding without blazes or markers.
- Injury: Unmarked terrain is littered with hidden roots, rocks, and drop-offs. The “shortcut” often takes longer and ends in injury.
If a trail is too crowded or you feel lost, backtrack to the last marked junction and reassess. There’s no shame in turning around.
Hiking Trail Etiquette and Safety Rules: Right of Way
Trails are shared spaces. Knowing right-of-way prevents collisions and maintains good vibes:
- Uphill hikers have the right of way over downhill hikers (though downhill hikers should step aside if possible, as stopping mid-climb is strenuous).
- Hikers yield to horses and pack animals (these animals spook easily and have poor backward visibility).
- Hikers yield to mountain bikes on shared trails (bikes are faster and harder to control uphill).
- Stay to the right of the trail and use a friendly “on your left” call if passing.
Leave No Trace Principles for Safe Hiking
Leave No Trace isn’t just environmental ethics—it’s a safety practice. Keeping trails clean prevents wildlife habituation and disease spread:
- Pack out all trash, including food scraps
- Use established campsites if backpacking
- Don’t approach wildlife for photos or food
- Use established water sources and camp away from water to prevent contamination
Hikers who leave food trash attract bears and other wildlife closer to trails, increasing risk for everyone.
Pacing and Hydration: Preventing Heat Stroke and Exhaustion
Many beginners set an unsustainable pace, pushing too hard uphill and burning out.
The right pace: You should be able to speak in full sentences without gasping. If you can’t, slow down. Turtle speed gets you there safely; rabbit speed gets you injured.
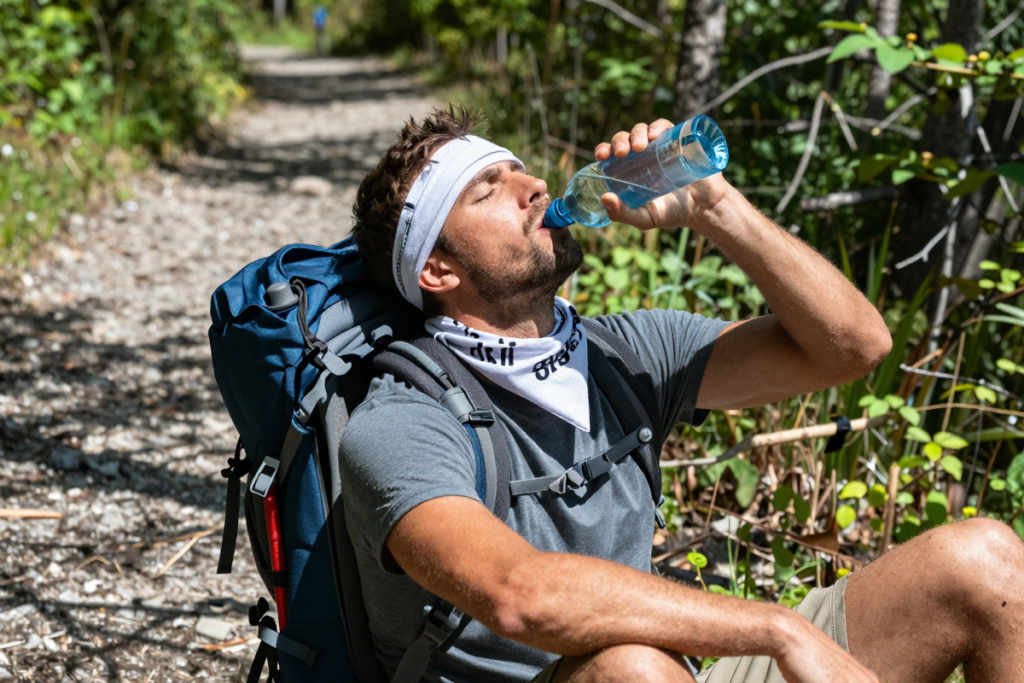
Hydration schedule: Don’t wait until you’re thirsty to drink. Thirst is a late indicator of dehydration. Drink 4–8 ounces every 15–20 minutes during active hiking.
Signs of heat exhaustion to watch for:
- Excessive sweating, then suddenly no sweating
- Dizziness or nausea
- Rapid heartbeat
- Headache and confusion
If you or a hiking partner shows these signs, stop immediately. Find shade, drink water, and cool the person with wet bandanas or stream water on the wrists and neck. If symptoms don’t improve in 15 minutes, descend and seek medical help.
Phase 4: Navigating Wildlife and Environmental Hazards
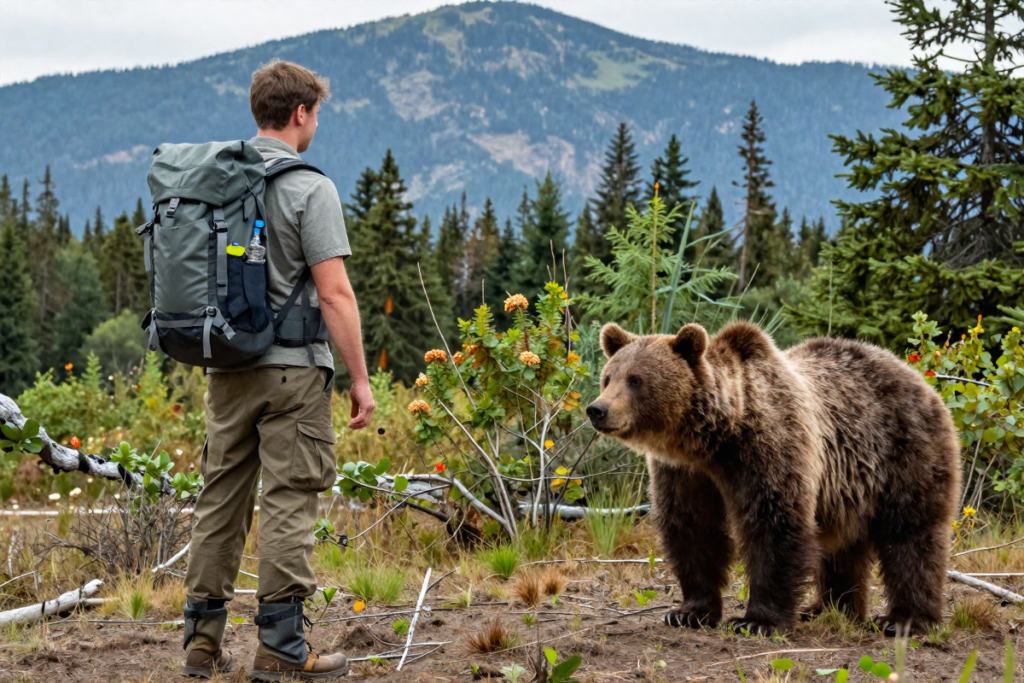
Sub-Section: Wildlife Encounter Protocol
What to Do If You See a Bear While Hiking
Bear encounters are statistically rare, and fatalities are even rarer. But knowledge and calm reduce risk dramatically.
If you see a bear at a distance (>100 feet):
- Stay calm. Most bears want to avoid you as much as you want to avoid them.
- Don’t run. Running triggers a chase instinct.
- Back away slowly while facing the bear. Make yourself look big (raise your arms).
- Make noise to confirm your presence—the bear will usually move away.
- Leave the area the way you came.
If a bear approaches or charges:
- Use bear spray if you have it. Aim slightly downward and spray in short bursts (see below).
- Play dead if it’s a grizzly (rare outside of Montana, Wyoming, and Alaska). Lie flat, cover your neck, and don’t move.
- Fight back if it’s a black bear or if the bear continues to attack.
Bear Safety Tips: Proper Bear Spray Use
Bear spray is a capsaicin-based aerosol that irritates a bear’s eyes, nose, and mouth—causing pain without permanent injury.
Key facts:
- Bear spray is 85–90% effective at stopping aggressive bears.
- It’s legal to carry in national parks and most wilderness areas.
- A typical canister costs $30–50.
- Spray when the bear is 25–40 feet away, moving toward you.
- Aim slightly downward (the spray clouds out and down).
- Use short bursts and move perpendicular to the wind if possible.
Before your trip: Check if bear spray is allowed in your destination. Some national parks restrict it; others require it. Purchase a quality canister from a reputable outdoor retailer.
[AFFILIATE PLACEHOLDER: Bear spray canister with holster] — Essential for hiking in bear country. Store in your pack’s side pocket or hip belt for easy access.
Hiking Snake Safety: How to Avoid Bites
Snakes (rattlesnakes, copperheads, water moccasins) pose minimal risk if you respect their space.
Prevention tactics:
- Step carefully over logs and rocks rather than stepping on them. Many snake bites occur when hikers accidentally step on hidden snakes.
- Never put your hands in dark places (rock crevices, hollow logs) where snakes hide.
- Wear boots and thick socks that provide a small barrier.
- Make noise while hiking (talking, trekking poles clicking). Snakes will move away from vibrations.
- Stay on the trail where snakes are less likely to hide.
If you see a snake:
- Stop, back away slowly, and give it space to leave.
- Never try to catch, move, or kill the snake.
If bitten:
- Remove any tourniquets or tight clothing.
- Keep the bite area below heart level.
- Descend carefully and seek medical help immediately.
- Most snake bites in North America are survivable with prompt medical attention.
Tick and Lyme Disease Prevention for Hikers
Ticks are tiny arachnids that attach to your skin and may carry Lyme disease (a serious bacterial infection).
Prevention:
- Use a tick repellent containing 20% DEET or picarinic on exposed skin and clothing.
- Wear long pants tucked into socks in tick-prone areas (spring and early summer).
- Perform a thorough tick check within 2 hours of finishing your hike. Lyme disease transmission requires 24+ hours of attachment.
- Check your scalp, behind ears, armpits, and groin—places ticks prefer.
Tick removal:
- Use tweezers to grasp the tick as close to the skin as possible.
- Pull straight out with steady, even pressure.
- Do not twist or jerk (this can leave the head embedded).
- Wash the area with soap and water.
- Save the tick in a sealed container (some doctors want to test it for Lyme disease).
Sub-Section: Extreme Weather Dangers
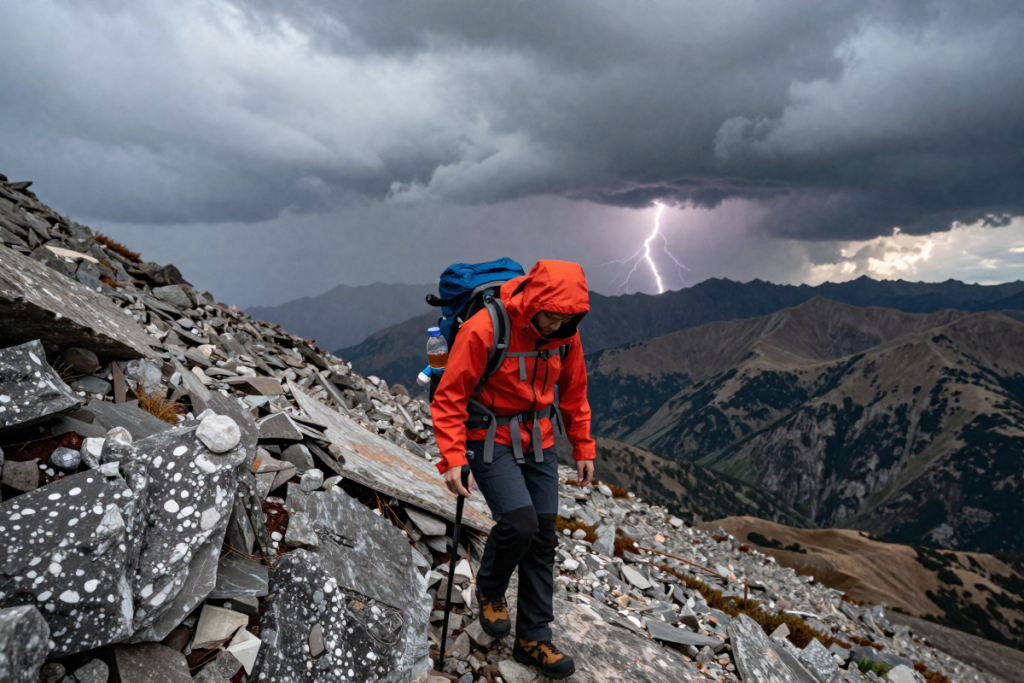
What to Do in a Lightning Storm While Hiking
Lightning is the most dangerous weather hazard for hikers. If you’re caught exposed during a thunderstorm, your goal is to minimize risk.
Immediate actions if lightning is visible or you hear thunder:
- Get off exposed ridges immediately. Lightning seeks the highest point.
- Avoid standing near isolated tall trees. The old “crouch under a tree” advice is outdated—this is one of the worst places to be.
- Assume the lightning crouch if you can’t reach shelter:
- Crouch on the balls of your feet.
- Make yourself as small as possible.
- Touch the ground only with your feet and hands.
- This position minimizes your contact with the ground while keeping you low.
- Descend to lower elevation if possible, moving away from the storm direction.
- Stay away from water (streams, lakes) which conducts electricity.
Prevention: If you see dark clouds or hear distant thunder, descend immediately. In mountains, afternoon thunderstorms are predictable; start early and plan to be off exposed terrain by 2 PM.
Recognizing Heat Exhaustion and Hypothermia
Heat Exhaustion Signs:
- Heavy sweating, then cessation of sweating
- Weakness, dizziness, or confusion
- Nausea or vomiting
- Rapid, weak pulse
- Body temperature around 101–103°F
Heat Exhaustion Response:
- Move to shade immediately.
- Drink water with electrolytes (or add salt/sports drink powder).
- Cool the body: pour water on the skin, apply ice packs to pulse points (wrists, neck, groin).
- Lie down with feet elevated.
- If symptoms don’t improve in 30 minutes, descend and seek medical help.
Hypothermia Signs (dangerously low body temperature, ~95°F or below):
- Uncontrollable shivering, then cessation of shivering
- Confusion, slurred speech, poor coordination
- Weakness and loss of muscle control
- Lethargy or unconsciousness
Hypothermia Response:
- Move the person to shelter (wind and moisture are the enemy).
- Remove wet clothing and replace with dry layers.
- Provide warm (not hot) drinks if conscious.
- Avoid vigorous movement (this can cause dangerous cardiac rhythm disruptions).
- Seek medical help immediately.
Prevention: Hypothermia can occur even in mild weather (50–60°F) if you’re wet and exposed to wind. Always carry an insulation layer, even on warm days.
Phase 5: Solo Hiking & Special Demographics
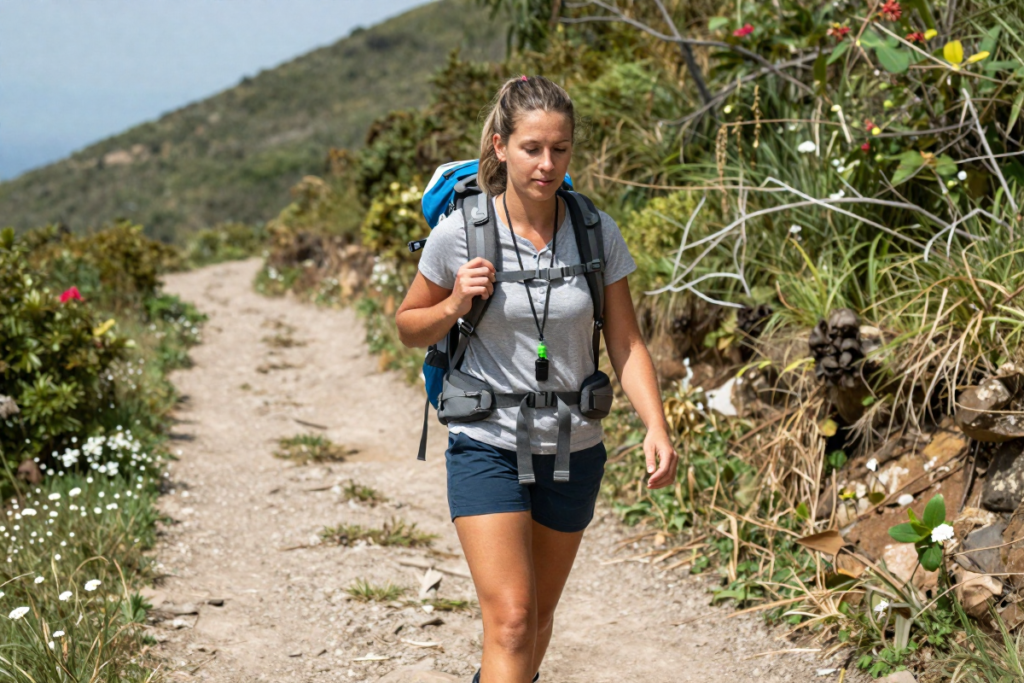
Is It Safe to Go Hiking Alone? The Honest Answer
Yes—but with caveats. Solo hiking requires additional preparation, self-awareness, and communication.
Advantages of solo hiking:
- Complete autonomy over pace and route
- Deeper personal connection to nature
- Flexible scheduling
Challenges:
- No one to help if you’re injured
- Higher psychological pressure if lost
- Increased perceived risk (though actual risk is similar to group hiking with proper preparation)
Solo hiking safety essentials:
- Tell someone your plan (this is non-negotiable).
- Start with shorter, well-marked trails before tackling remote or technical terrain.
- Carry communication devices (satellite messenger or personal locator beacon).
- Turn back if something feels wrong—there’s no prize for completing an unsafe hike solo.
Is It Safe for a Woman to Hike Alone?
Women face an additional layer of concern: personal safety beyond environmental hazards.
The empowering truth: Millions of women hike solo safely every year. The risk of wildlife or trail hazards is the same for women as men. The risk of human threat—while legitimate to consider—is actually lower on mainstream hiking trails than in urban settings.
Practical strategies:
- Choose popular, well-trafficked trails during daylight hours.
- Tell people where you’re going and provide a definitive return time.
- Carry a personal safety alarm or whistle. [AFFILIATE PLACEHOLDER: Personal safety alarm for hiking] — Loud, attention-grabbing, and lightweight.
- Trust your instincts. If a person at the trailhead feels off, wait for others or choose a different trail.
- Consider hiking with a group initially to build confidence and trail knowledge.
- Join local women’s hiking groups for community and safety in numbers.
Hiking with Kids Safety
Children present unique challenges: they tire faster, get distracted, and may wander.
Trail selection: Choose loops or out-and-back trails with mile markers so kids understand distance. Avoid trails with exposed drop-offs or dangerous stream crossings.
Engagement: Kids hike better when motivated. Bring a nature guidebook and identify plants/birds. Make a game of finding trail markers.
Strict rules:
- Kids stay within visual range (typically 10 feet).
- No running on trails.
- All water sources require adult permission and supervision.
- If a child wants to turn back, you turn back (avoid forcing exhausted kids to finish).
Age guidelines:
- Ages 3–5: 1–2 mile out-and-back, minimal elevation
- Ages 6–10: 3–4 miles with modest elevation, high engagement
- Ages 11+: Longer distance hikes become possible
Emergency Protocol: What to Do if Things Go Wrong
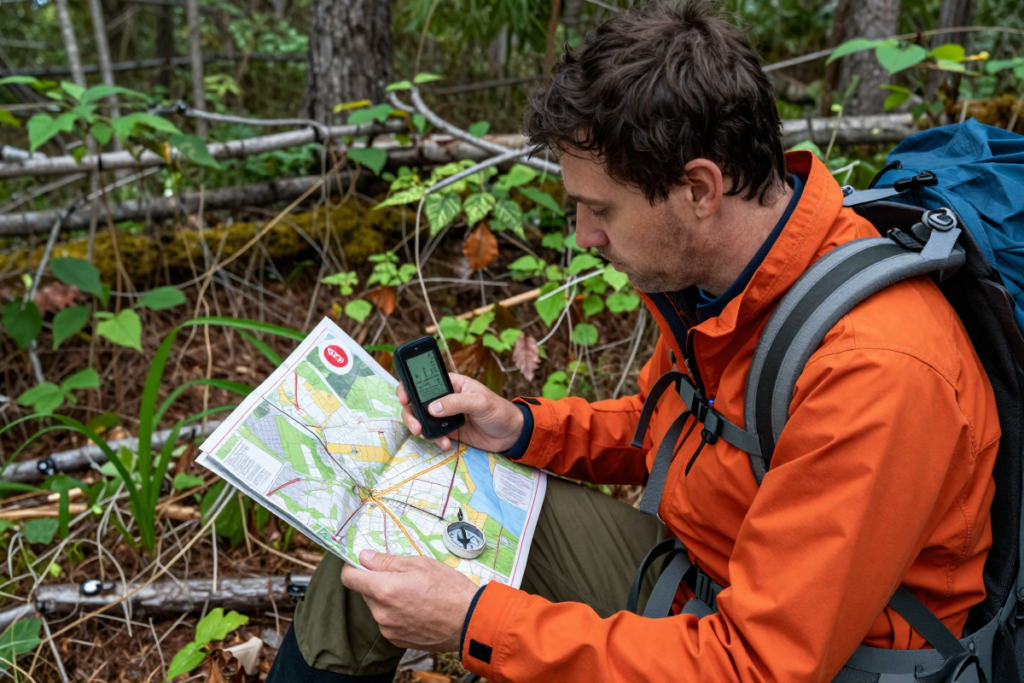
Despite perfect preparation, emergencies happen. How you respond determines outcomes.
If You Get Lost: The S.T.O.P. Protocol
If you realize you don’t recognize your surroundings or can’t find the trail:
S – Stop immediately. Don’t wander further and make it worse. Sit down, take a breath, and think.
T – Think. Review what you remember:
- When did you last see a trail marker?
- Which direction were you heading?
- Can you backtrack to that point?
O – Observe. Look for landmarks you recognize, trail markers, or the direction of water flow (trails often follow water).
P – Plan. Decide to either:
- Backtrack to the last certain point and try again.
- Use a map/GPS to identify your location.
- Stay put and signal for help if you have a communicator.
Critical rule: If you’re truly lost and can’t navigate out, STAY PUT. Search and rescue teams search trails and expected routes. If you wander further, you’re making rescue harder.
The Survival Rule of 3 for Hikers
Prioritize survival needs in this order:
- 3 minutes without air → Breathing and CPR
- 3 hours without shelter (in harsh weather) → Get out of wind/rain/extreme heat
- 3 days without water → Hydration is critical
- 3 weeks without food → The least urgent in short-term emergencies
This hierarchy explains why emergency shelter and water matter more than energy bars.
Signaling for Help
If you’re in a real emergency:
- Emergency whistle: Blow three short blasts (the international distress signal). Carry a whistle on your keychain.
- Mirror or reflective surface: Flash three times toward rescuers or planes.
- Make yourself visible: Stay in clearings rather than hiding in dense forest.
- Use bright colors: Lay out bright clothing or gear in a large X pattern.
Phase 6: High-Value FAQ Section (AIO/SEO Goldmine)
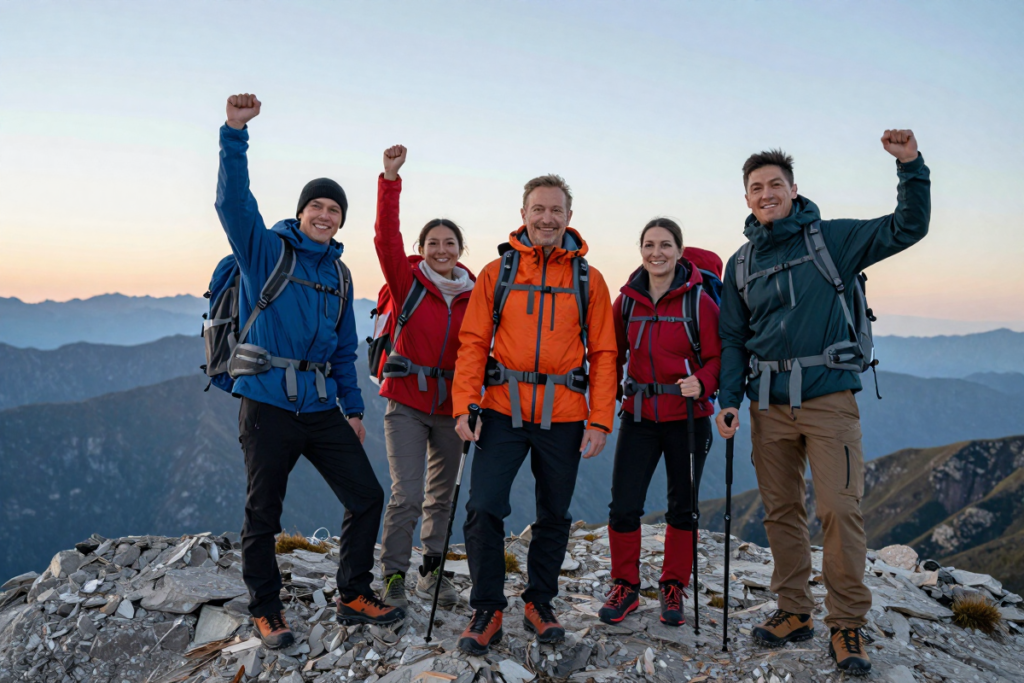
Q: What are the top 10 safety tips for hiking?
- Tell someone your hiking plan and expected return time.
- Check weather and trail conditions before leaving.
- Carry the 10 essentials (navigation, water, first aid, etc.).
- Stay on marked trails; never shortcut switchbacks.
- Wear proper footwear with ankle support and traction.
- Drink water regularly (1/2 liter per hour of hiking).
- Use a map, offline GPS, or satellite communicator for navigation.
- Perform a tick check within 2 hours of finishing your hike.
- Respect wildlife by maintaining distance and never approaching.
- Turn back immediately if conditions worsen or you feel unsafe.
Q: Does bear spray really work?
Yes. Bear spray is 85–90% effective at stopping aggressive bear charges when used correctly. It’s more effective than firearms in preventing attacks and injuries. However:
- It only works if you have it accessible (not buried in your backpack).
- You must spray when the bear is 25–40 feet away.
- Aim slightly downward; the cloud spreads out and down.
- Bear spray is legal in most national parks and wilderness areas (check your specific destination).
Q: What should you never do while hiking?
❌ Leave the trail or cut switchbacks ❌ Hike without telling someone your plan ❌ Ignore weather warnings or forecasts ❌ Approach wildlife for photos or food ❌ Drink untreated water from streams without filtration ❌ Hike alone on unfamiliar technical terrain as a beginner ❌ Leave trash, food scraps, or human waste on the trail ❌ Push forward when exhausted or injured ❌ Hike at night without a headlamp (or high quality lighting) ❌ Ignore signs of heat exhaustion, hypothermia, or altitude sickness
Q: Is it safe to hike in the rain?
Only with proper preparation. Rain itself isn’t dangerous, but it creates hazards:
- Wet rocks are slippery. Move slowly and deliberately.
- Muddy trails erode underfoot. Step carefully and avoid shortcuts.
- Stream crossings swell. If a stream is high and fast, don’t cross.
- Exposure becomes dangerous. Wet + wind + cool temperatures = hypothermia risk.
Safe rain hiking:
- Wear a waterproof rain jacket (not just water-resistant).
- Bring extra insulation layers even if you’re warm now.
- Avoid steep, exposed ridge trails where lightning risk increases.
- Avoid narrow canyon trails where flash floods occur.
- Consider postponing if severe thunderstorms are forecast.
Conclusion & Call to Action
The outdoors rewards preparation, respect, and humility. Yes, hiking carries inherent risks—but so does driving a car or crossing a street. What makes hiking special is that the risks are largely controllable through knowledge and preparation.
You now have a comprehensive framework for hiking safety tips for beginners. You know how to plan safely, what gear matters, how to respond to environmental hazards, and how to handle emergencies. That knowledge transforms hiking from something scary into something empowering.
The trail is waiting for you. Start with shorter, well-marked hikes in popular areas. Build your skills and confidence gradually. Invest in a few essential items (good boots, a headlamp, a map). Always tell someone where you’re going. And never, ever stop learning.
Your Next Steps
- Download our free printable hiking safety checklist — A one-page guide to reference before every hike. [CTA: Enter your email to get instant access]
- Share this guide with a hiking partner or friend who’s thinking about trying the trail.
- Leave a comment below: What’s your must-have piece of hiking safety gear? I’d love to hear what’s kept you safe on the trails.
- Check out our complementary guides:
- [Link] Bear Safety While Hiking: Region-by-Region Guide
- [Link] The Complete Hiking Gear Buyer’s Guide for Beginners
- [Link] Navigation Skills Every Hiker Should Master
The mountains don’t care about your experience level—they reward respect and preparation equally. Get out there safely, and happy trails.
✅ Affiliate Placeholders Marked:
- Merrell Moab 3 (boots)
- Garmin inReach Mini 3 Plus (premium satellite communicator)
- ZOLEO (budget satellite communicator)
- LifeStraw (water filtration)
- Bear spray canister
- Personal safety alarm
No Responses