Picture this: It’s 2 a.m., and severe weather alerts are blaring on your phone. As you reach for your emergency supplies, a sinking feeling hits—you never quite got around to building that kit. Or maybe you did, but the upfront cost wiped out your grocery budget for two weeks, creating a different kind of crisis.
This scenario plays out in countless households because most people assume emergency planning costs thousands of dollars upfront, causing them to neglect both their physical stockpiles and cash reserves. The truth? You don’t need wealth to build resilience—you need a tactical roadmap.
An emergency preparedness budget balances immediate daily living costs with long-term survival planning. Building a disaster-ready household doesn’t require panic buying or draining your savings account. It requires a strategic, incremental approach to planning, saving sequentially, and procuring budget-friendly supplies over time.
Quick Answer for Voice Search: An emergency preparedness budget is a specialized financial plan that allocates funds specifically for disaster readiness supplies and crisis resources, separate from your traditional emergency fund that covers unexpected expenses like job loss or medical bills. A complete approach includes both liquid cash reserves and physical preparedness investments.
What is an Emergency Preparedness Budget? (The Financial Core)

Defining the Terms: Emergency Fund vs. Disaster Budget
If you’ve ever wondered, “What is the difference between an emergency fund and a disaster preparedness budget?”—you’re asking the right question. These two critical safety nets serve distinct purposes:
Emergency Fund: This is liquid cash reserved for structural economic disruptions—job loss, unexpected medical costs, car breakdowns, or home repairs. Financial experts typically recommend 3-6 months of living expenses tucked away in a high-yield savings account.
Emergency Preparedness Budget: This represents capital explicitly allocated to physical resilience—food storage, water purification systems, safety gear, first-aid supplies, and crisis resource management. Unlike your emergency fund, these are tangible assets designed to sustain you when systems fail.
Think of it this way: Your emergency fund helps when the power stays on but your paycheck doesn’t. Your disaster preparedness budget helps when the power goes off and stores are closed.
The 50/30/20 Rule Applied to Emergency Readiness
The classic 50/30/20 budgeting framework (50% needs, 30% wants, 20% savings and debt repayment) can be adapted for emergency savings planning. Here’s how to carve out dedicated disaster readiness funding:
- Within your 20% savings allocation, designate a portion specifically for preparedness expenses
- Start with 1-2% of your monthly income directed toward building your emergency supplies
- As your traditional emergency fund reaches milestones, gradually increase your preparedness allocation
- Consider this spending as “self-insurance”—reducing future risk exposure
For example, if your monthly income is $4,000, allocating just $40-$80 monthly ($480-$960 annually) creates a substantial preparedness foundation within 12 months without disrupting your regular financial obligations.
Where to Store Your Safety Net: Cash at Home vs. High-Yield Savings Accounts
Financial emergency planning requires balancing digital liquidity with transactional resilience. Here’s the strategic split:
High-Yield Savings Account (Majority of emergency fund):
- FDIC-insured protection
- Earns interest while accessible
- Perfect for job loss, medical bills, or routine emergencies
- [AFFILIATE PLACEHOLDER: High-yield savings account comparison tool]
Physical Cash Reserve (Smaller preparedness allocation):
- $200-$500 in small bills ($1, $5, $10, $20)
- Stored securely at home in waterproof container
- Essential for power outage scenarios when ATMs and card readers fail
- Covers immediate needs during 72-hour disasters
Digital Budget Tracking: Modern budgeting apps help you visualize both pools of money simultaneously. [AFFILIATE PLACEHOLDER: YNAB or PocketGuard budgeting software] allows you to create dedicated categories for “Emergency Fund—Cash” and “Emergency Preparedness—Supplies” so you can track progress toward both goals.
Phase 1: How to Plan Your Budget-Friendly Readiness Roadmap
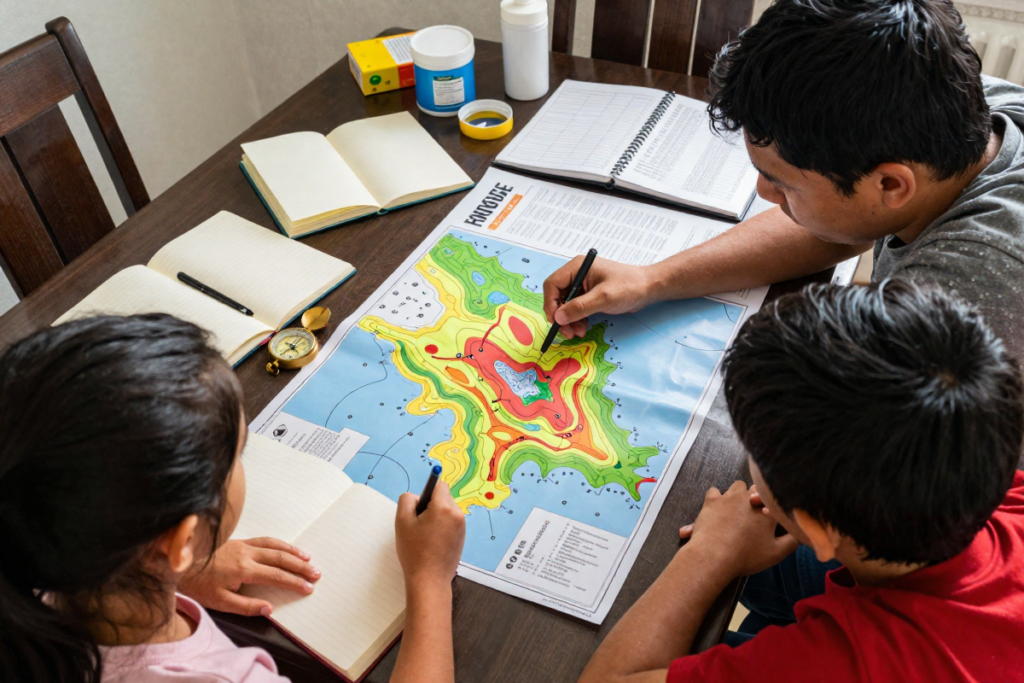
Conducting a Disaster Risk Assessment Without Overspending
Disaster preparedness planning shouldn’t be one-size-fits-all. Your geography, living situation, and household composition determine where to focus limited resources.
Geographic Risk Factors:
- Hurricane zones: Prioritize window protection, evacuation supplies, important document protection
- Earthquake regions: Focus on structural safety, securing heavy furniture, emergency shut-off tools
- Winter climates: Emphasize heating alternatives, winter clothing layers, vehicle emergency kits
- Wildfire areas: Invest in N95 masks, air purification, quick evacuation preparation
Lifestyle Variables:
- Renters need portable, compact solutions; focus on bug-out bags and document organization
- Homeowners can invest in larger food storage systems and backup power solutions
- Families with children require age-specific supplies, comfort items, educational activities
- Pet owners must budget for pet food, carriers, medication, and veterinary records
This assessment prevents wasteful spending on scenarios you’re statistically unlikely to face while ensuring you’re prepared for genuine regional risks.
The Cost Breakdown of a 72-Hour Emergency Kit
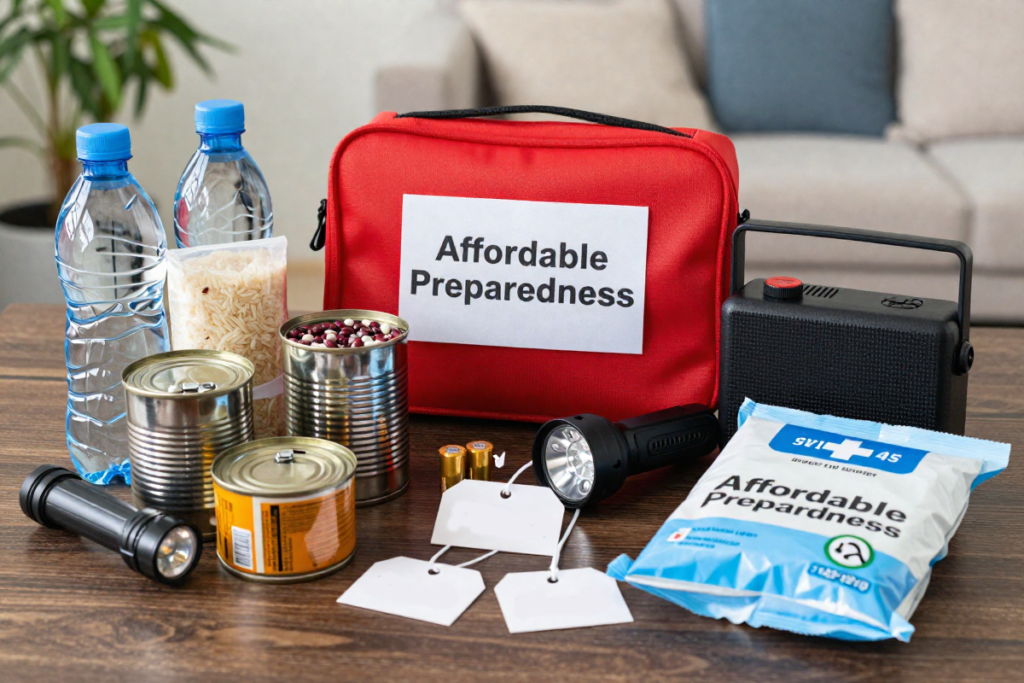
One of the most searched questions is: “How much does it cost to build an emergency kit?” Here’s a transparent comparison:
| Item Category | Pre-Made Commercial Kit | DIY Budget Assembly | Savings |
|---|---|---|---|
| Water (3 gallons/person) | Included (~$15 value) | $6-8 (bulk purchase) | ~$7 |
| Non-perishable food | Included (~$45 value) | $20-25 (pantry staples) | ~$20 |
| First aid supplies | Basic kit (~$25 value) | $15 (dollar store + pharmacy) | ~$10 |
| Flashlight & batteries | Included (~$20 value) | $8-10 (discount retailers) | ~$10 |
| Radio (hand-crank/battery) | Included (~$30 value) | $12-18 (budget models) | ~$12 |
| Hygiene items | Limited (~$15 value) | $10 (travel sizes) | ~$5 |
| Total Cost | $150-200 | $71-96 | ~$64 (40%) |
The verdict: Building your own emergency kit budget saves substantial money while allowing customization for dietary restrictions, medication needs, and family preferences. Commercial kits often include items you’ll never use while omitting essentials specific to your household.
[AFFILIATE PLACEHOLDER: Links to individual components—water filtration bottles, portable radio, comprehensive first aid kit]
Creating Your Emergency Preparedness Budget Worksheet
Whether you have regular income or face irregular cash flow, this step-by-step framework helps establish consistent preparedness funding:
Step 1: Calculate Your Baseline
- Monthly income (after taxes): $________
- 1-2% preparedness allocation: $________
Step 2: Identify Existing Resources
- Current emergency supplies value: $________
- Gaps in coverage: _________________
Step 3: Establish Monthly Targets
- Immediate needs (0-3 months): $______/month
- Medium-term goals (3-12 months): $______/month
- Long-term investments (12+ months): $______/month
Step 4: Schedule Purchase Milestones
- Month 1 priority: ________________
- Month 2 priority: ________________
- Month 3 priority: ________________
For irregular income earners: Base your percentage allocation on your lowest typical monthly income, then allocate windfalls or above-average months toward accelerating your preparedness timeline.
[INTERNAL LINK/LEAD MAGNET: Download our free printable Emergency Preparedness Budget Worksheet]
Phase 2: How to Save—Strategies for Prepping When You’re Broke
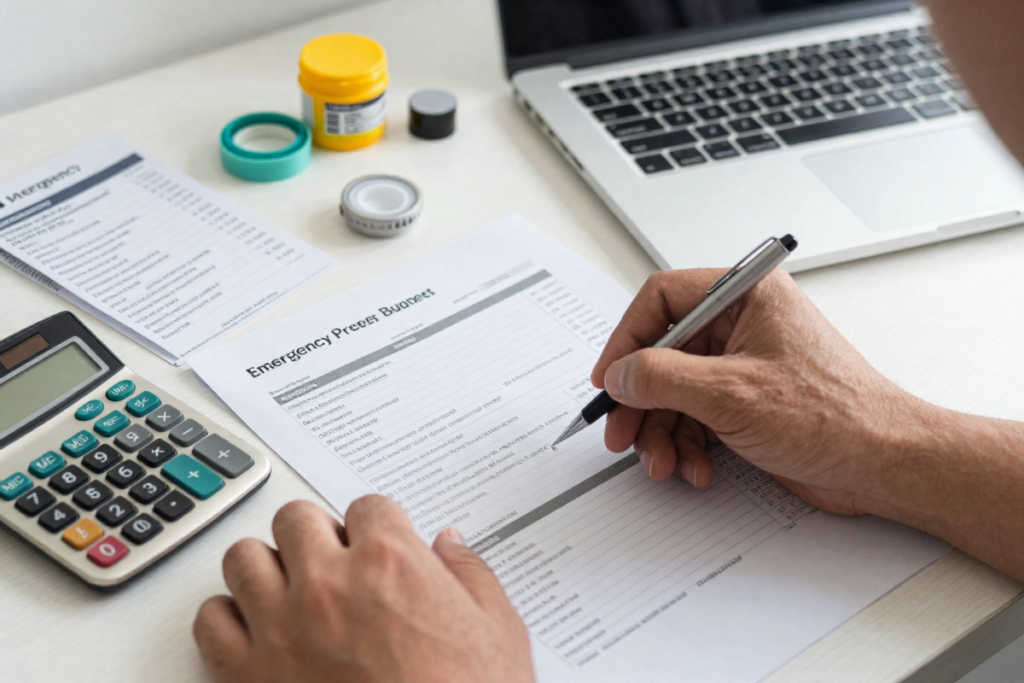
Micro-Budgeting: Establishing a $50-a-Month Stockpile Plan
Searching for “How do I start prepping for emergencies when I’m broke?” You’re not alone—and you absolutely can build meaningful preparedness on an ultra-tight budget.
Here’s exactly what to purchase with $50 monthly for three months using prepping on a budget strategies:
Month 1—Water & Basic Nutrition ($50)
- 6 gallons bottled water: $6
- 10 lbs rice: $8
- 5 lbs dried beans: $6
- 12 cans mixed vegetables: $9
- 6 cans tuna/chicken: $8
- Multivitamins: $7
- Salt, sugar, cooking oil: $6
Month 2—Safety & Hygiene ($50)
- LED flashlight (2-pack): $10
- Battery supply (AA, AAA, D): $12
- Basic first aid kit: $15
- Hygiene items (soap, toothpaste, toilet paper): $8
- Garbage bags (multi-purpose): $5
Month 3—Tools & Documentation ($50)
- Manual can opener: $4
- Waterproof document holder: $8
- Emergency whistle: $3
- Duct tape & paracord: $8
- Emergency blankets (4-pack): $8
- Matches/lighter: $4
- Remaining: additional food/water rotation
Total 3-month investment: $150 for a functional 72-hour baseline covering two people.
Frugal Prepping Techniques and Alternative Sourcing
Affordable emergency preparedness leverages creative sourcing beyond traditional retail:
Dollar Store Emergency Hauls:
- First aid basics (bandages, antibiotic ointment, pain relievers)
- Hygiene supplies (travel sizes work perfectly)
- Batteries and basic flashlights
- Plastic storage containers
- Non-perishable snacks
- Aluminum foil, plastic wrap, utensils
Strategic Bulk Buying:
- Join warehouse clubs (Costco, Sam’s Club) with friends to split memberships
- Focus on per-unit cost for rice, beans, pasta, canned goods
- Watch for seasonal emergency preparedness sales (September is National Preparedness Month)
- Use manufacturer coupons stacked with store sales
Thrift Store Survival Gear:
- Camping equipment (sleeping bags, backpacks, coolers)
- Manual kitchen tools (can openers, utensils)
- Warm clothing and blankets
- Containers for water and food storage
Coupon Prepping Tactics:
- Apps like Ibotta and Fetch Rewards for grocery cashback
- Subscribe to brand newsletters for exclusive coupons
- Time purchases around holiday sales (Black Friday for batteries, flashlights, tools)
[AFFILIATE PLACEHOLDER: Cashback apps and coupon aggregator services]
Balancing Debt Repayment with Crisis Readiness Costs
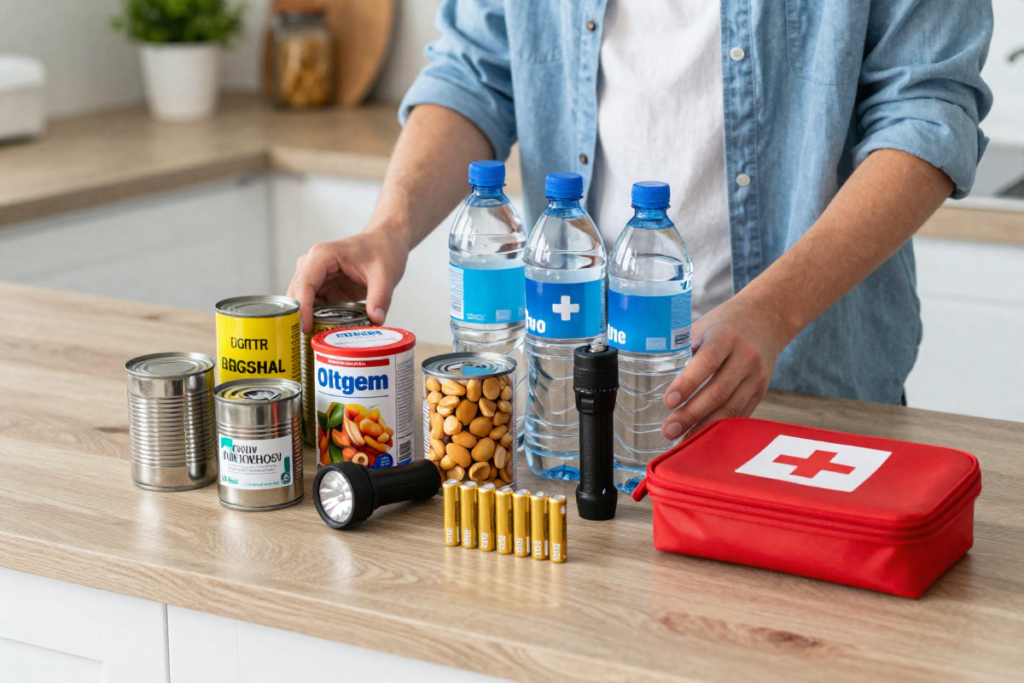
This is one of the toughest budget trade-offs: Should you aggressively pay down high-interest debt or pause to build a baseline emergency safety net first?
Financial experts generally recommend this hierarchy:
- Immediate baseline ($500-1,000): Even with debt, establish a minimal cash buffer to prevent new debt from minor emergencies
- High-interest debt focus: Aggressively tackle credit cards above 15% APR
- Simultaneous building: Once high-interest debt is managed, split additional funds between debt repayment and preparedness
- Full preparedness investment: After debt freedom, accelerate emergency fund to 3-6 months and enhance physical supplies
The psychological factor: Having even modest emergency supplies reduces stress and prevents panic spending during crises—potentially saving more money than aggressive debt payoff alone.
Phase 3: How to Spend Smart—Prioritizing Your Gear Logistics
The Immediate Action Hierarchy: What to Buy First
“Where should I spend money first for emergency readiness?” This emergency preparedness spending priorities framework ensures maximum impact:
Level 1: Zero to Low Cost (Start Today)
- Document organization: Photocopy/scan ID, insurance, medical records, bank information; store digitally (encrypted cloud) and physically (waterproof bag)
- Emergency contacts list: Written copy of phone numbers (useless when your phone dies)
- Household safety maps: Evacuation routes, utility shut-offs, meeting locations
- Water purification basics: Learn about boiling, bleach treatment (2 drops per liter)
- Inventory existing supplies: You likely own more useful items than you realize
Level 2: Under $100 (First 90 Days)
- Three-day water supply (1 gallon/person/day)
- Shelf-stable food storage for beginners (see next section)
- Basic first aid kit with personal medications
- Flashlight, batteries, emergency radio
- Sanitation supplies (toilet paper, hand sanitizer, garbage bags)
Level 3: $100-500 (Months 4-12)
- Extended food storage (2-week supply)
- [AFFILIATE PLACEHOLDER: Water filtration system like LifeStraw or Sawyer Mini]
- Comprehensive medical supplies
- Weather-appropriate clothing and bedding
- Fire extinguisher and smoke detectors
Level 4: Advanced/Long-Term ($500+)
- Backup power (generator, solar chargers)
- [AFFILIATE PLACEHOLDER: Emergency communications gear—hand-crank radio, walkie-talkies]
- Advanced bug-out bag essentials
- Specialized tools based on skills/location
- Long-term food storage (freeze-dried meals, bulk staples)
Budget-Friendly Emergency Food Storage for Beginners
Cost-effective emergency preparedness prioritizes high-calorie, shelf-stable foods with extended expiration dates:
Cheapest Long-Lasting Emergency Foods (Price per lb):
- White rice: $0.50-1.00/lb (30+ year shelf life if stored properly)
- Dried beans: $1.00-1.50/lb (indefinite shelf life)
- Pasta: $1.00-1.50/lb (2-3 year shelf life)
- Oats: $1.00-2.00/lb (30-year shelf life in sealed containers)
- Peanut butter: $2.00-3.00/lb (1-2 years, high calories/protein)
- Canned vegetables: $0.60-1.00/can (2-5 year shelf life)
- Canned protein (tuna, chicken): $1.50-2.50/can (3-5 years)
- Honey: $3.00-4.00/lb (indefinite shelf life, natural preservative)
Pantry Rotation System (reduces waste, saves money):
- Store what you actually eat regularly
- Label everything with purchase dates
- Use “first in, first out” method
- Replace items as you consume them
- Check expiration dates bi-annually (set calendar reminders)
Sample $100 Two-Week Food Budget (2 people):
- 20 lbs rice: $15
- 10 lbs beans: $12
- 24 cans vegetables: $18
- 12 cans protein: $20
- 5 lbs pasta: $6
- Canned soup: $12
- Peanut butter: $8
- Oats: $5
- Remaining: spices, bouillon, cooking oil
[AFFILIATE PLACEHOLDER: Long-term food storage buckets and Mylar bags with oxygen absorbers]
Essential Survival Gear That is Worth the Investment
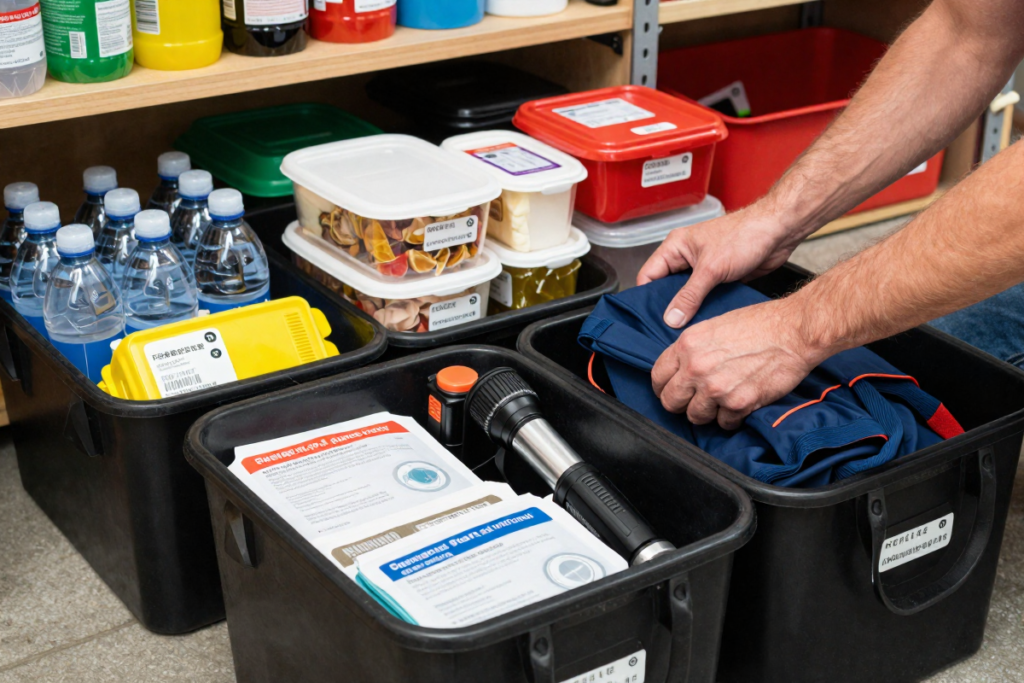
While frugality is crucial, certain items justify higher spending for reliability and safety:
Worth the Investment (Don’t Cheap Out):
- Water filtration: A quality system like [AFFILIATE PLACEHOLDER: Sawyer water filter or LifeStraw] ($20-40) vastly outperforms dollar-store alternatives
- Flashlights/headlamps: Reliable LED models with proven battery life
- First aid trauma supplies: Quality tourniquets, Israeli bandages, chest seals if trained
- Fire starters: Waterproof matches, ferro rods, multiple redundant options
- Multi-tool: One quality Leatherman beats five cheap alternatives
Where Generics Work Perfectly:
- Duct tape and zip ties: Function matters more than brand
- Garbage bags: Any heavy-duty bag serves multiple purposes
- Hygiene items: Dollar store soap works identically to premium brands
- Basic bandages and OTC medications: Generic ibuprofen = brand-name
- Storage containers: Focus on sealing ability, not aesthetics
The strategic difference: invest in items where failure creates danger; economize on items where failure creates inconvenience.
Comprehensive FAQ Hub (AIO & Rich Snippet Injection)
How much money should I budget for emergency preparedness?
A baseline recommendation is setting aside 1-2% of your monthly income specifically for emergency supplies and preparedness expenses. If you earn $3,000 monthly, that’s $30-60/month. For those just starting, dedicate $25-50 monthly until you’ve established both a 72-hour physical supply buffer and a 3-month cash emergency fund. Adjust based on household size, regional risks, and current preparedness gaps.
Can I genuinely prepare for emergencies for under $100?
Absolutely yes. Here’s a complete 72-hour starter kit for under $100:
- Water: 6 gallons bottled water ($6)
- Food: Rice, beans, canned goods, peanut butter ($30)
- Light: LED flashlight + batteries ($12)
- First aid: Dollar store kit + essential medications ($15)
- Hygiene: Toilet paper, soap, hand sanitizer ($10)
- Tools: Manual can opener, garbage bags, duct tape ($8)
- Communication: Battery-powered radio ($15)
- Remaining: Emergency blanket, waterproof matches ($4)
Total: $100 covering basic needs for 2 people for 3 days. Build from this foundation incrementally.
How often should I update or replace my emergency supplies?
Establish a bi-annual maintenance schedule (every 6 months) aligned with daylight saving time changes:
Spring check (March/April):
- Rotate and replace expiring food items
- Test all batteries and electronics
- Update seasonal clothing (remove winter gear, add summer)
- Review and update emergency contact information
- Check medical supplies and medications
Fall check (September/October):
- National Preparedness Month reminder
- Rotate food approaching expiration
- Replace batteries showing weakness
- Add winter-specific items (blankets, hand warmers)
- Verify insurance documents are current
Replace immediately: Expired medications, rusted cans, corroded batteries, damaged equipment.
What financial documents should be included in my emergency crisis plan?
Store both waterproof physical copies and encrypted digital backups of:
Essential Financial Documents:
- Photo ID (driver’s license, passport)
- Social Security cards
- Birth/marriage certificates
- Insurance policies (home, auto, health, life)
- Bank account numbers and routing information
- Credit card account information (not actual cards)
- Property deeds and mortgage documents
- Vehicle titles and registration
- Will and power of attorney
- Medical records and prescription lists
- Tax returns (last 2-3 years)
- Investment/retirement account statements
Digital storage: Use encrypted cloud services (LastPass, 1Password) or encrypted USB drives stored in fireproof safe. Physical storage: Waterproof document holder in grab-and-go location.
[AFFILIATE PLACEHOLDER: Fireproof/waterproof document safe]
Conclusion & Next Steps
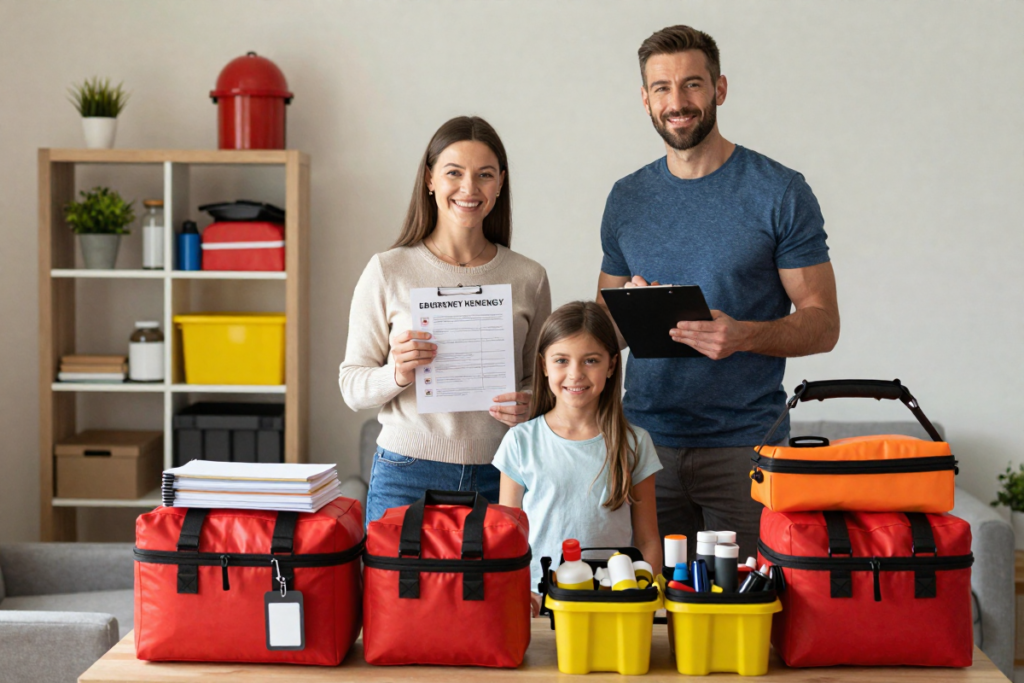
Building an emergency preparedness budget isn’t about achieving perfection overnight—it’s about establishing consistent, incremental progress that transforms anxiety into empowerment. Physical safety and financial security are constructed one intentional decision at a time, not purchased in a panic.
Whether you start with $25 or $250 monthly, the key is starting. Today.
Your Action Plan:
- Audit your current spending to find $25-50 in monthly allocation opportunities
- Identify your top 3 vulnerabilities based on your geographic and lifestyle risk assessment
- Make your first purchase this week—even if it’s just a case of water and some canned goods
- Set calendar reminders for bi-annual supply checks and monthly budget reviews
- Download your free budget worksheet to track progress and maintain momentum
[INTERNAL LINK: Download Free Emergency Preparedness Budget Worksheet]
Remember: preparedness isn’t about fear—it’s about freedom. Freedom from worry. Freedom to focus on what matters when crisis hits. Freedom to help neighbors because you’ve secured your own household first.
We’d love to hear from you: What is the first item you plan to add to your budget-friendly emergency kit this month? Share your preparedness wins and challenges in the comments below—this community learns best when we support each other’s journeys toward resilience.
[AFFILIATE PLACEHOLDER: Final CTA to comprehensive emergency kit components bundle]
No Responses